Building a Pwnagotchi - Pwning wifi with AI

Time for a break from Hack the Box. I’ve been watching the Pwnagotchi project by evilsocket (https://github.com/evilsocket/pwnagotchi) for a while and thought it was a really cool piece of software and hardware for wireless research and testing. Now that there is an Alpha version of the software I purchased a new Pi Zero W and the recommended screen (https://www.amazon.com/gp/product/B071S8HT76/ref=ppx_yo_dt_b_asin_title_o01_s00?ie=UTF8&psc=1) to build one and play around a bit. This article will cover my experience in building the device and getting everything up and running. I’ll provide links to any items that I’ve used and code needed to build one of your own. I am not the maintainer of this project, these are just my notes and experiences building the project. Thanks to evilsocket and the many maintainers of the codebase for such a cool tool!
SOFTWARE
The most recent version of the code used to build this can be found here: https://github.com/evilsocket/pwnagotchi.
Using the create_sibling.sh script was my plan. This took some fiddling to get a Linux VM that would work for my purposes as I didn’t want to try building this in the terminal on my Mac. Qemu is necessary for the build script and Kali (the distro I used) does not have this as default. I went ahead and ran apt-get install qemu-system and then got an error that I needed qemu-user-static for this to work. I installed that package and the script ran just fine. You do need to have enough space for all of the raspbian image files and such, so make sure you have plenty, not the 8GB that VM specs as standard. I had not enough drive space a few times as I was using a VM to build the necessary image and had spec’d too small of a drive once I had everything necessary installed. After the initial days of everyone adding to the build script it has gained a lot of functionality and stability so don’t be afraid of it not working. It should work and if there’s an issue, expect a pull request to fix it in short order.
Fair warning, there may be times during the build where it could take a while. Like an “I think this has crashed” while. It’ll get there, just be patient. The sibling script gets updated VERY frequently at this point and going to the slack channel is very useful to see if recent updates could be changing your output. There are also differences between using a pwnagotchi with Windows or MacOS, so keep in mind what OS you are using to ensure you don’t follow advice for the wrong thing.

Note: I initially had some issues with the create_sibling.sh output. I found that my pwnagotchi wouldn’t load parts of the operating system and then failed to an emergency shell that got stuck in a reboot loop. I’m not sure what was causing this, but I followed twitter and other builds that were going on and noticed that people were fixing things. So I waited a bit and performed a git pull on the project to get an up to date sibling script when I noticed chatter that indicated that past issues seemed to be fixed. Now back to the originally scheduled program...
Success! I think... So now I have an image and am ready for the next step of copying that image over to a micro sd card to use on the pi zero. The pwnagotchi software gives you a useful command to do this, but I have built other Raspi variations and am working on a Mac, so I’ll use Balena Etcher (https://www.balena.io/etcher/). It works well and has a nice GUI so it’s one of the friendly things to work with in this process. I definitely take opportunities to find easy parts to these projects, it makes the harder parts easier to work through. Once my copmuter had finished copying files to the sd card, I should be ready to start putting things together. Now to watch my package tracking in anticipation.
Files to know on the pwnagotchi
/var/log/pwnagotchi.log
/root/pwnagotchi/config.yml (make adjustments to personality and screen used)
/root/pwnagotchi/scripts/main.py
create_sibling.sh
HARDWARE
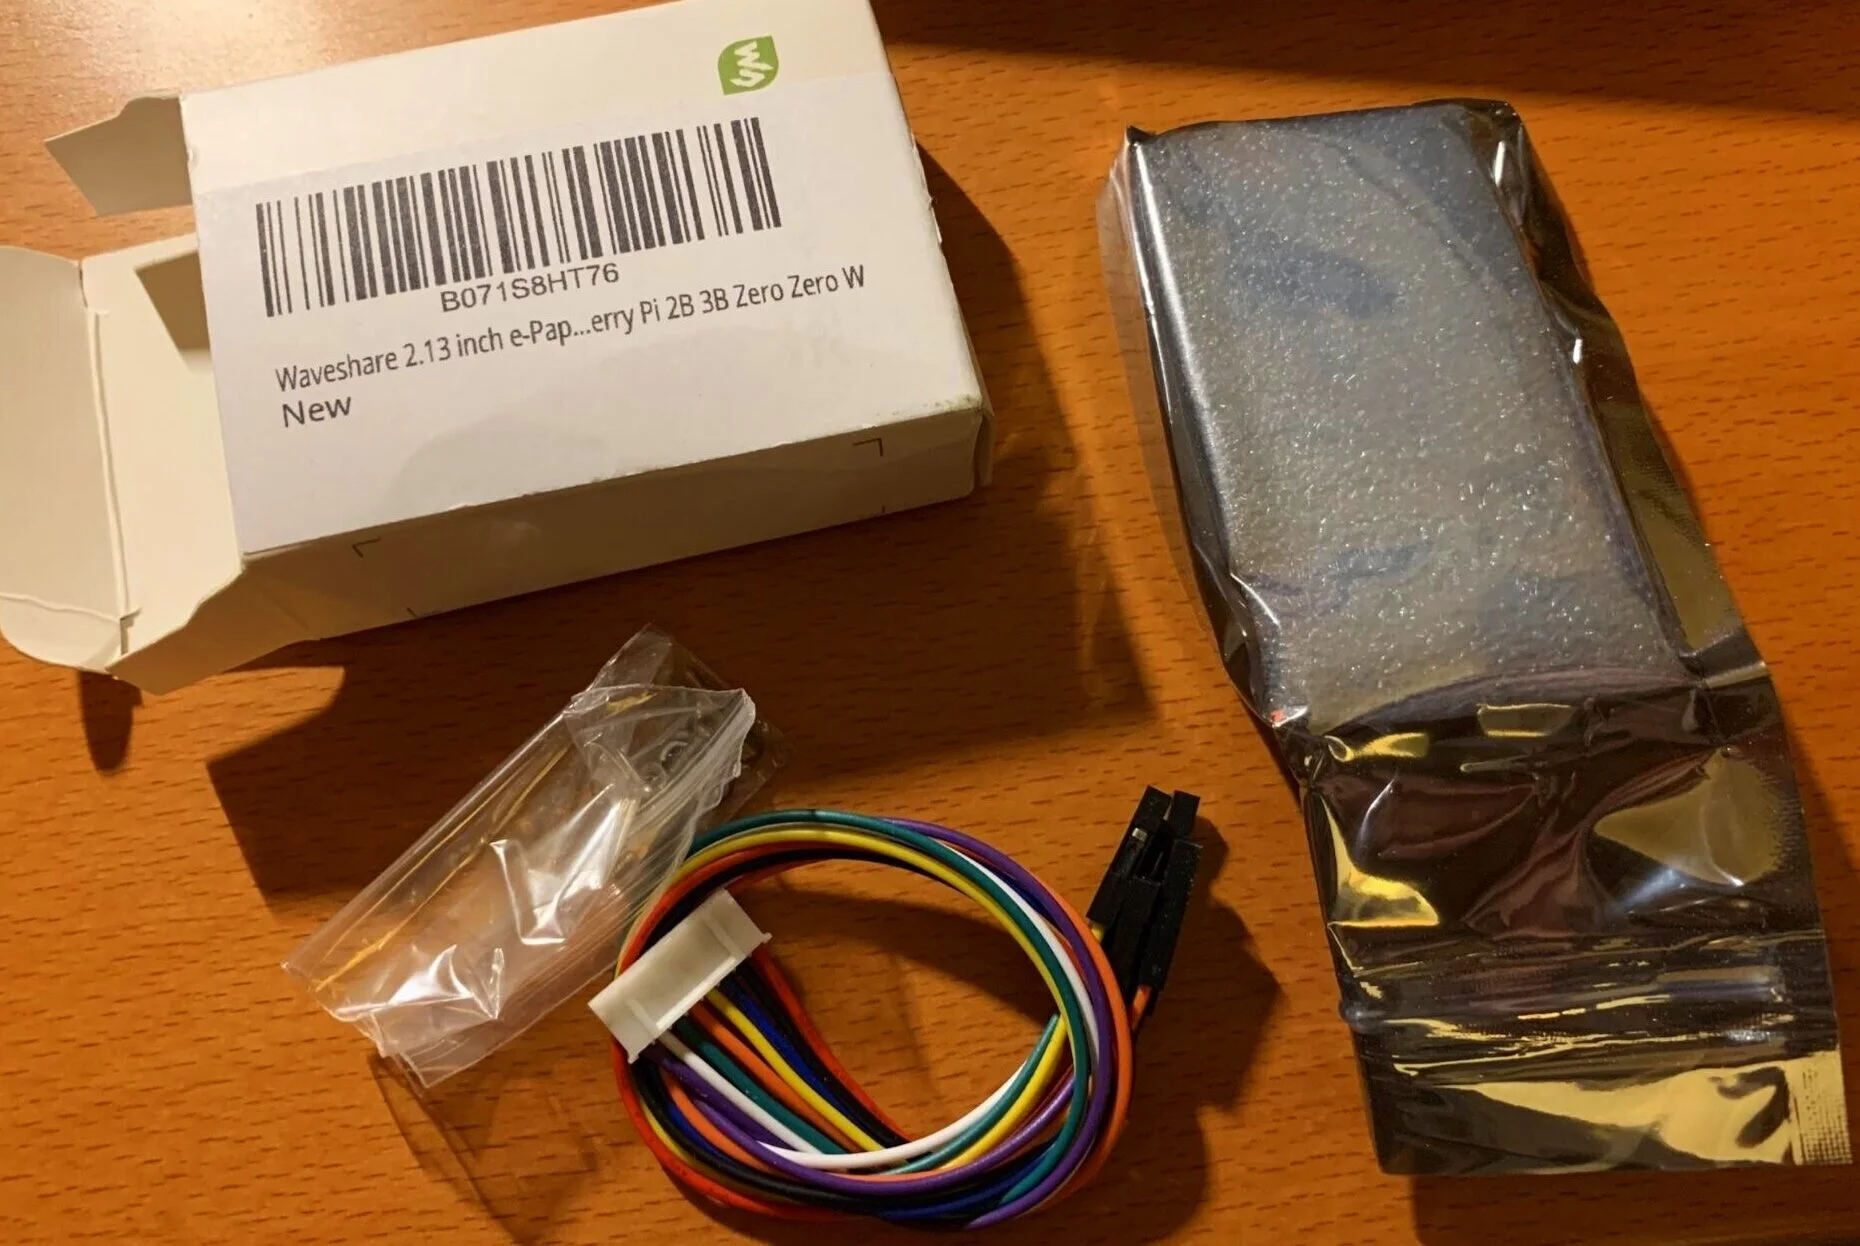
Box opening! My items arrived from Amazon and I’m getting them out and ready!

Bill of Materials
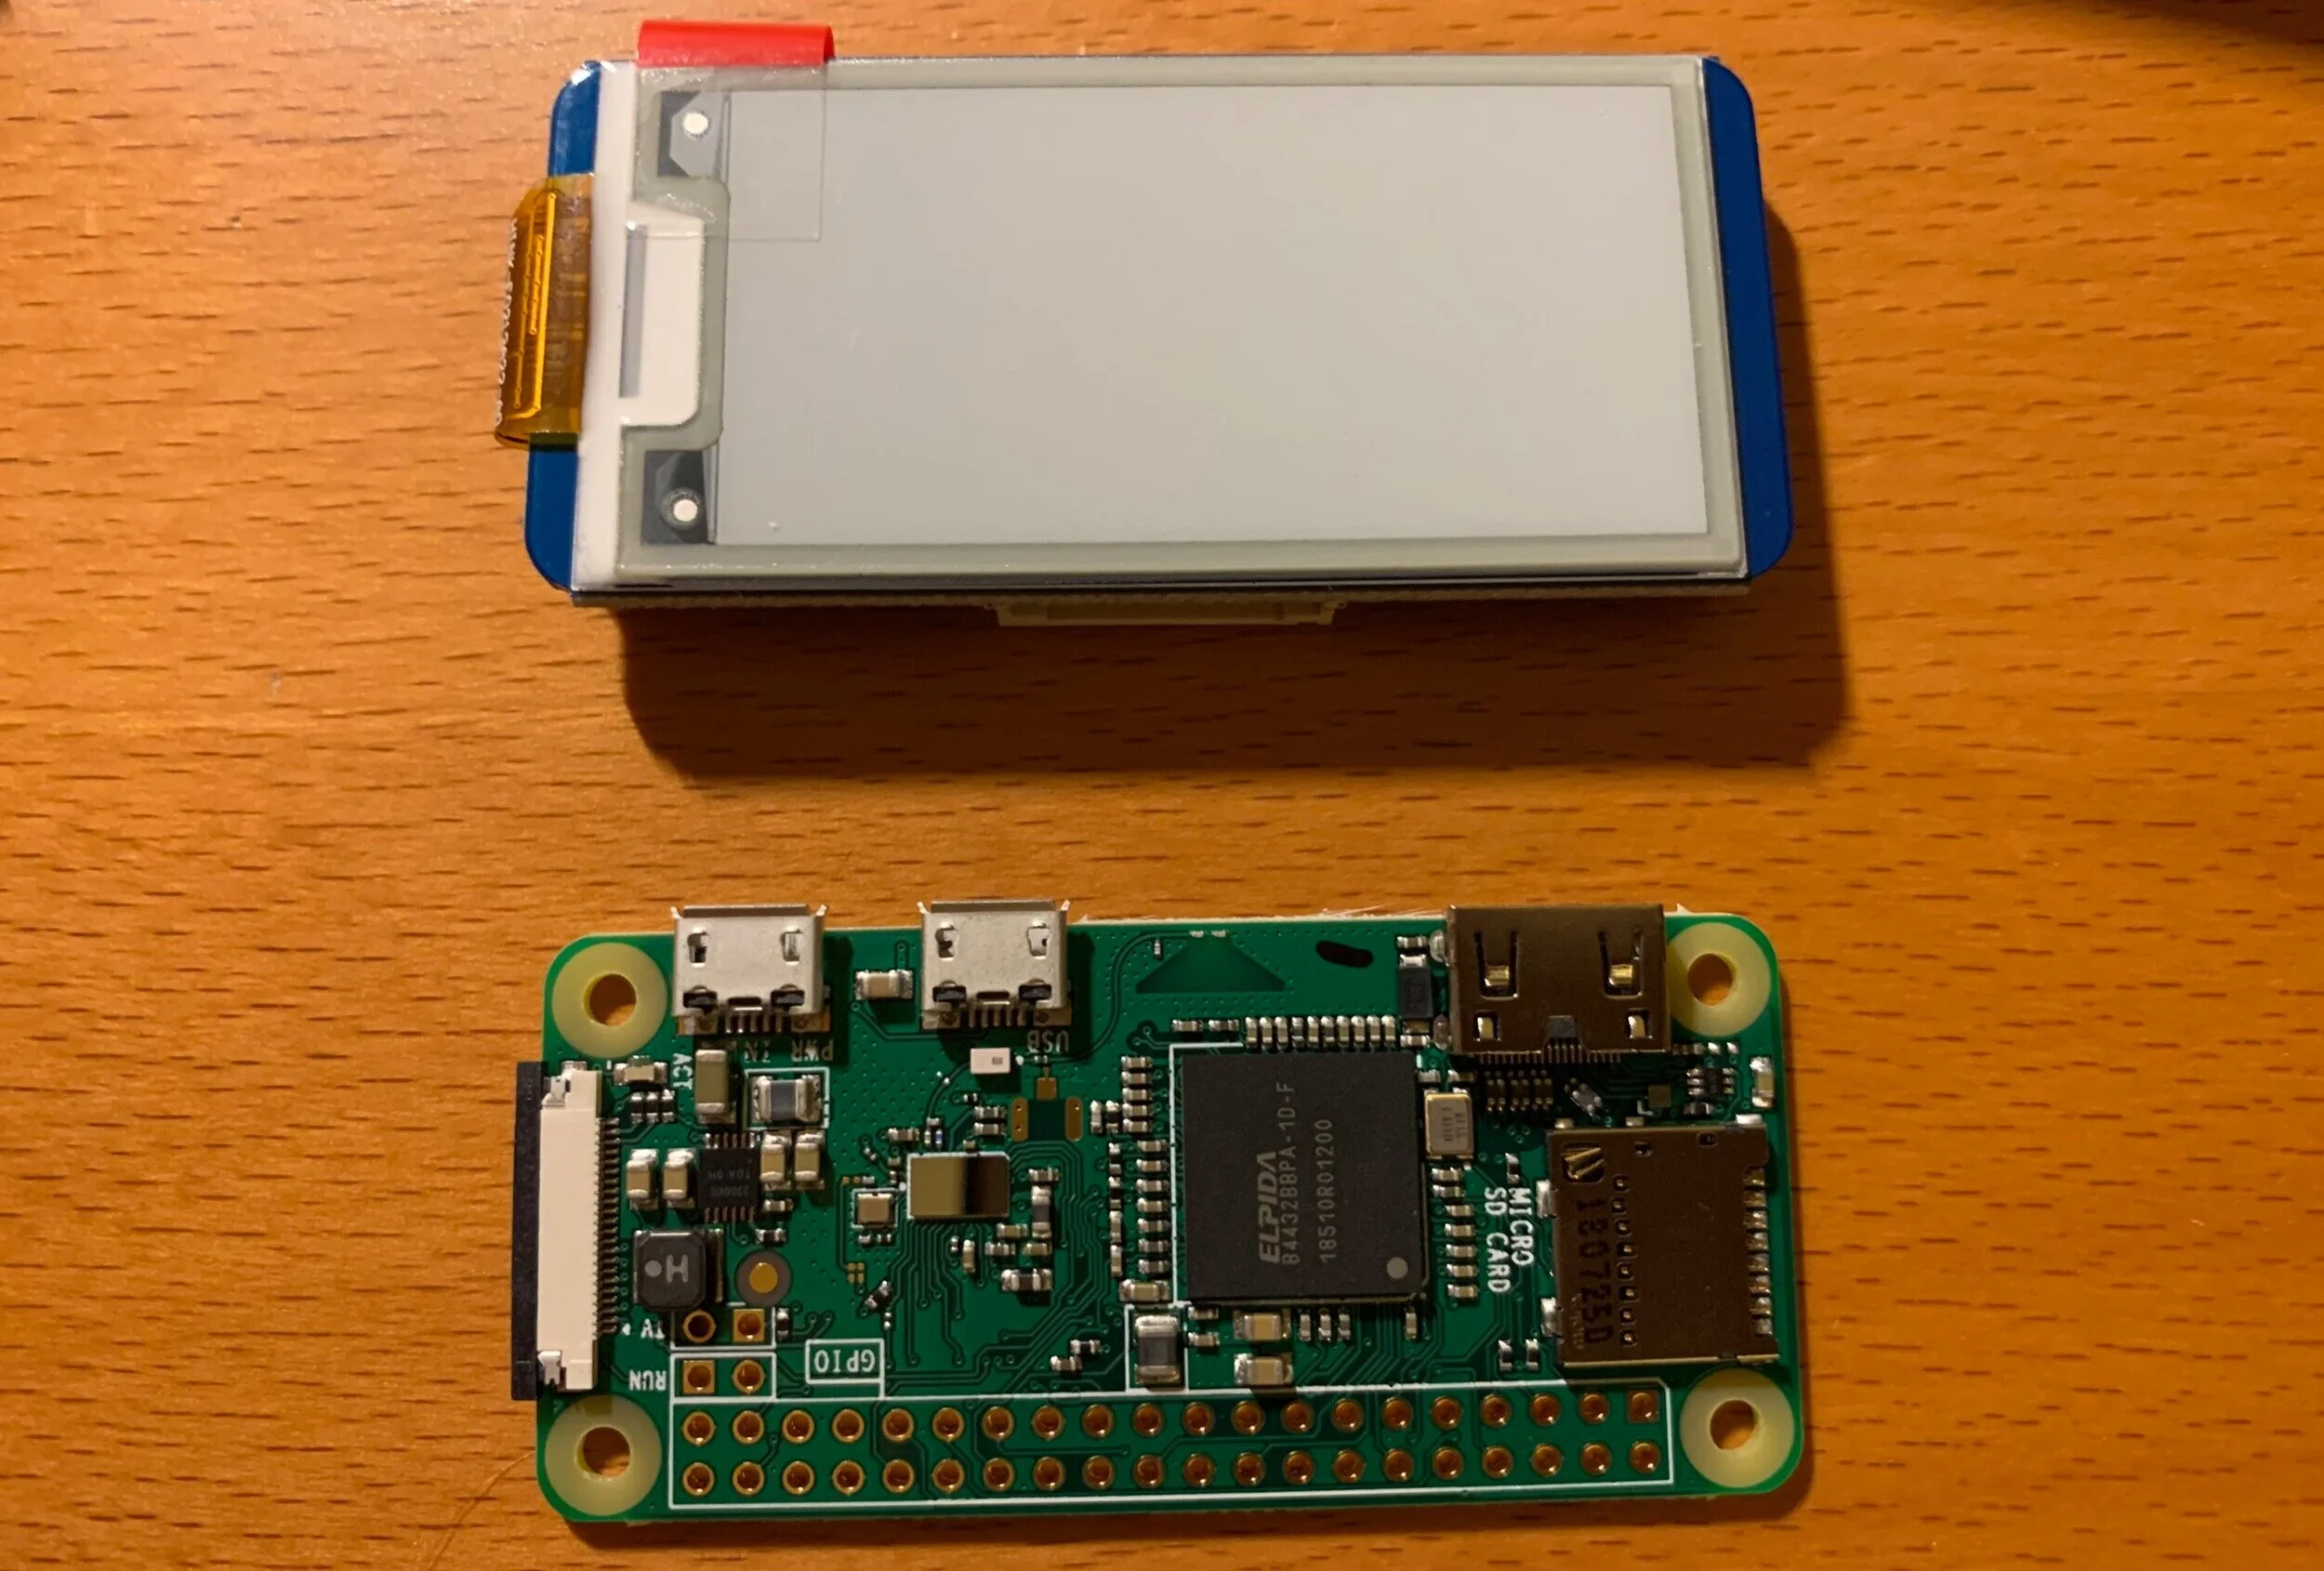
Raspberry Pi Zero WH (the H indicates the headers are installed) - (https://www.adafruit.com/product/3708)
Pimoroni InkyPhat (this requires a setting change to work) - (https://www.adafruit.com/product/3934)
Short Micro USB Flat Slim Thin Ribbon FPC Cable Micro USB 90 Degree Angle to Standard USB A for sync and Charging (10CM) - (https://www.amazon.com/gp/product/B07BDPMFZ9/ref=ppx_yo_dt_b_asin_title_o00_s00?ie=UTF8&psc=1)
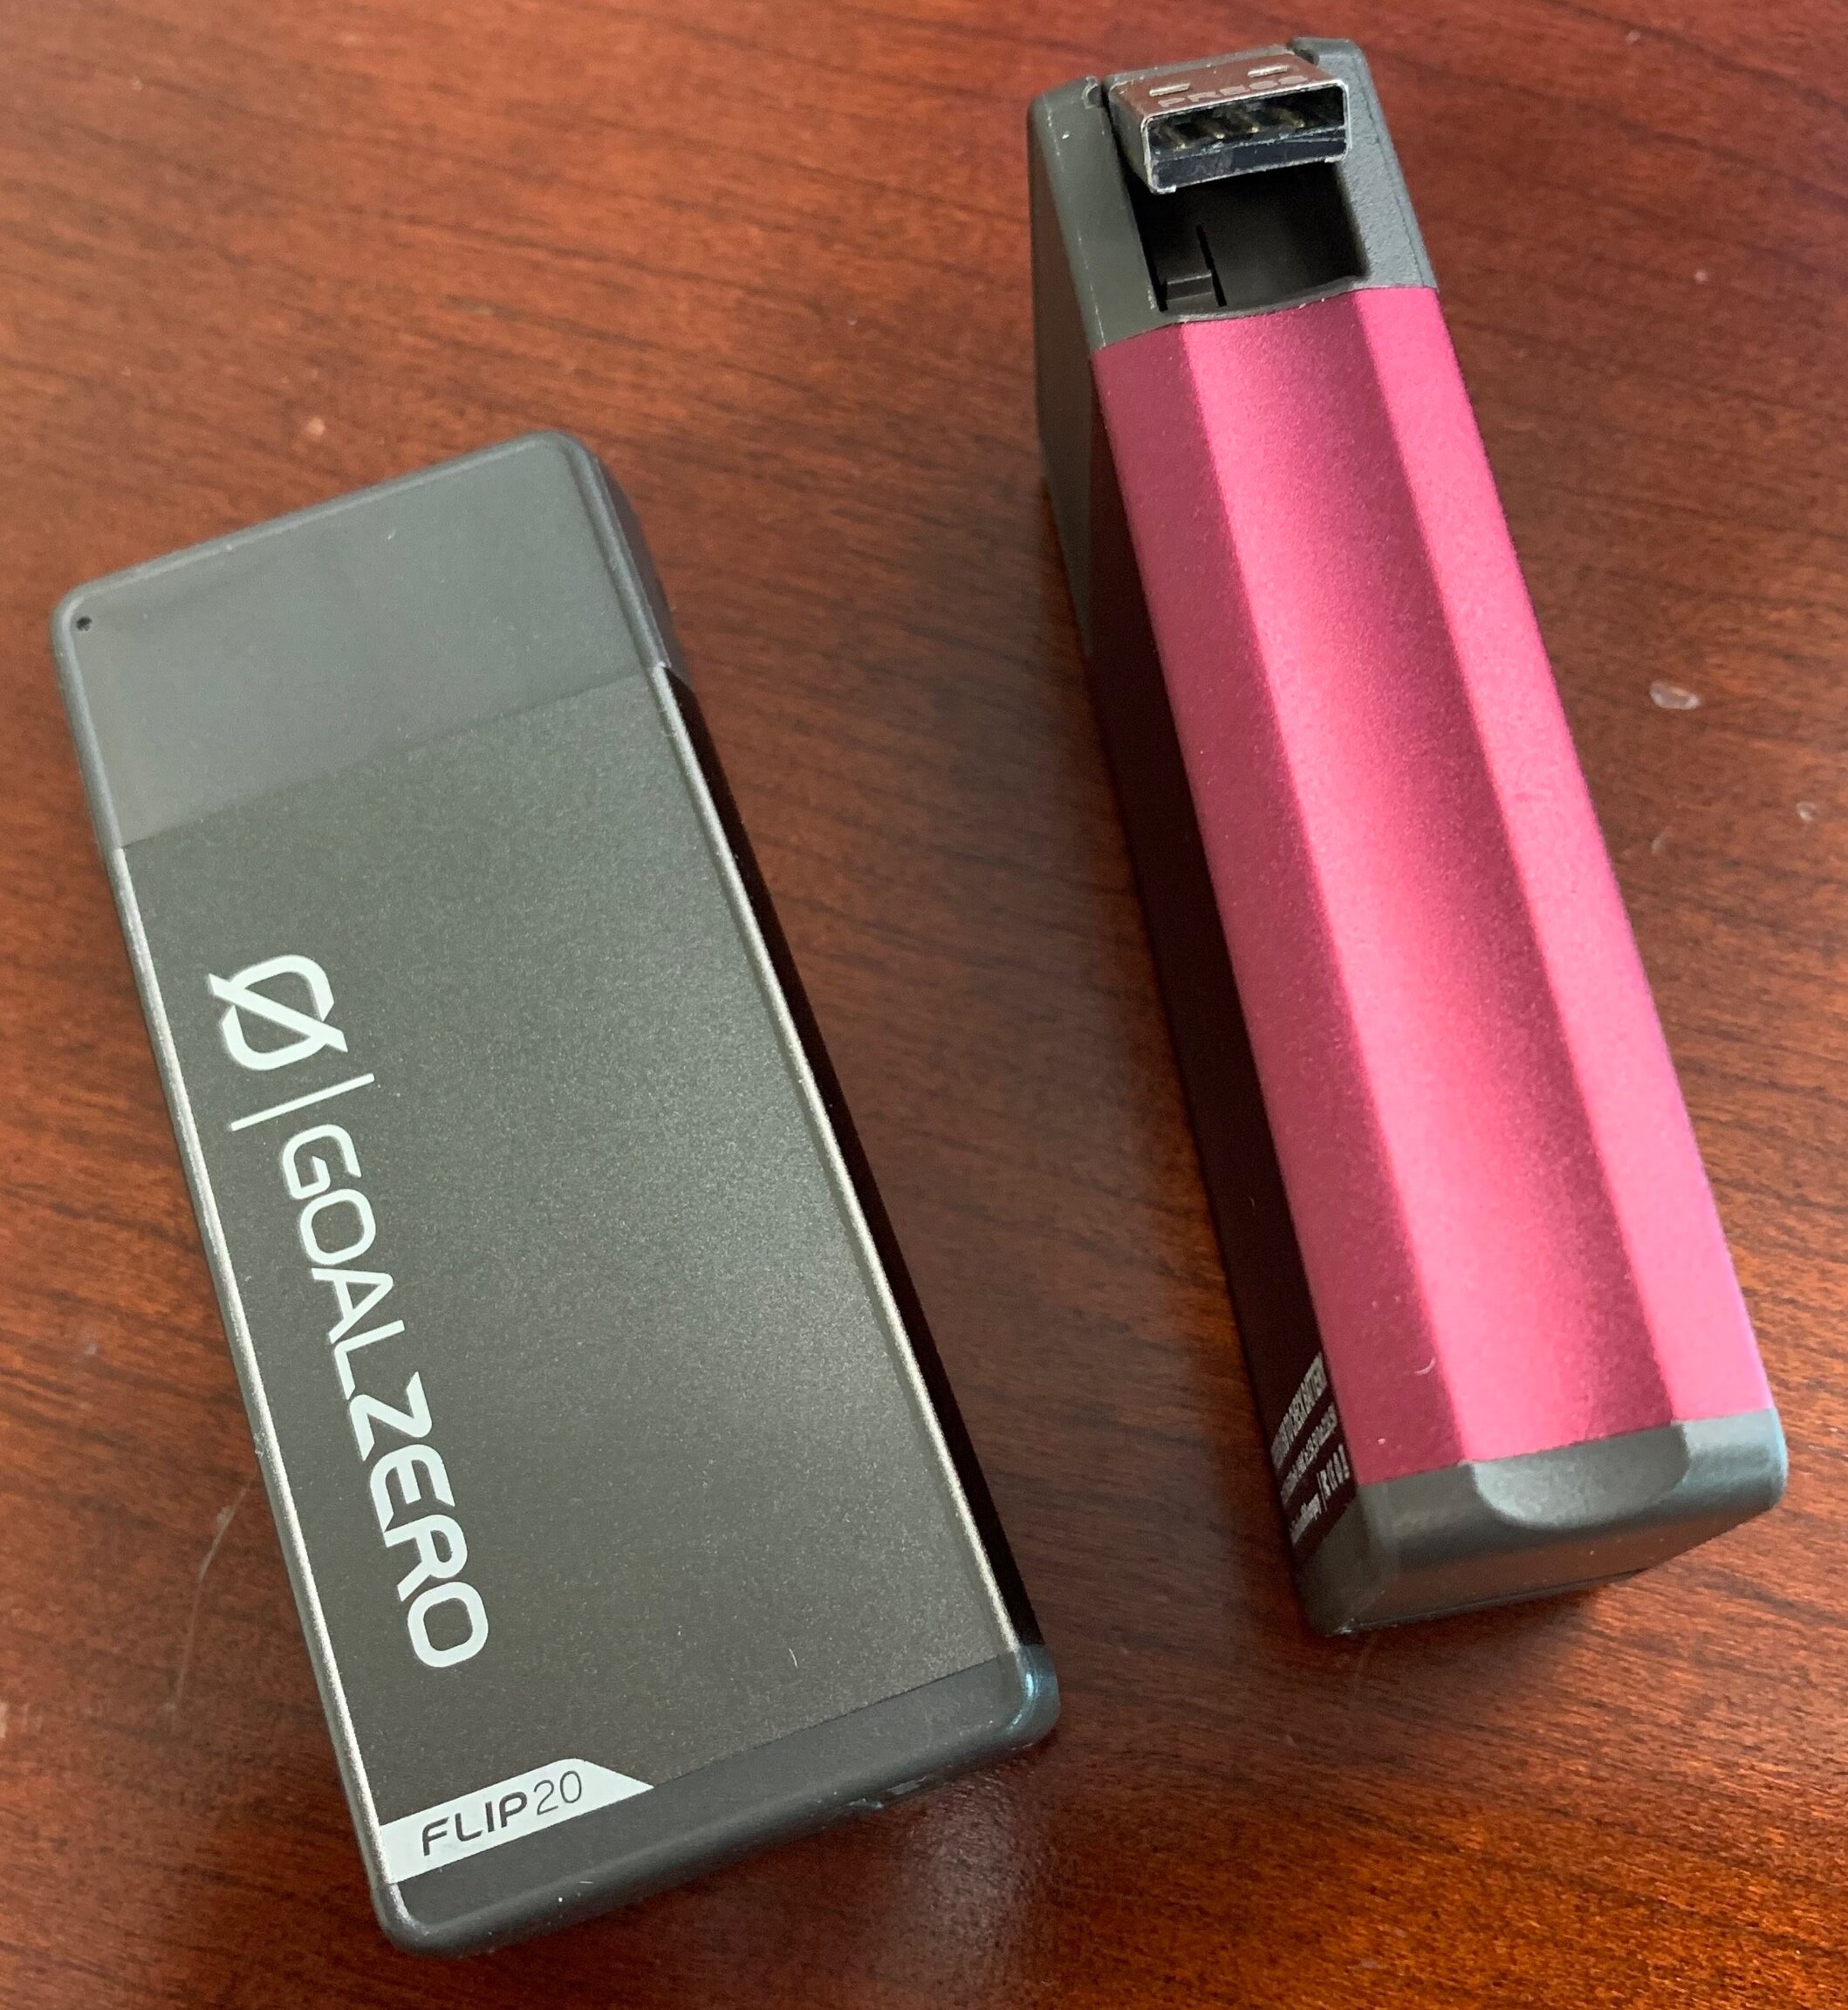
Goal Zero Flip 20 - (https://www.amazon.com/gp/product/B075MGKGX8/ref=ppx_yo_dt_b_asin_title_o03_s01?ie=UTF8&psc=1)
I ordered a Waveshare 2.13 inch e-Paper display as recommended by evilpacket and a new Raspberry Pi Zero W. One thing to note on these is if you don’t want to solder headers on, order one with the GPIO pins pre-done. I got one without pins first and one with second. I’ll use the first as soldering practice once I dig my old iron out.
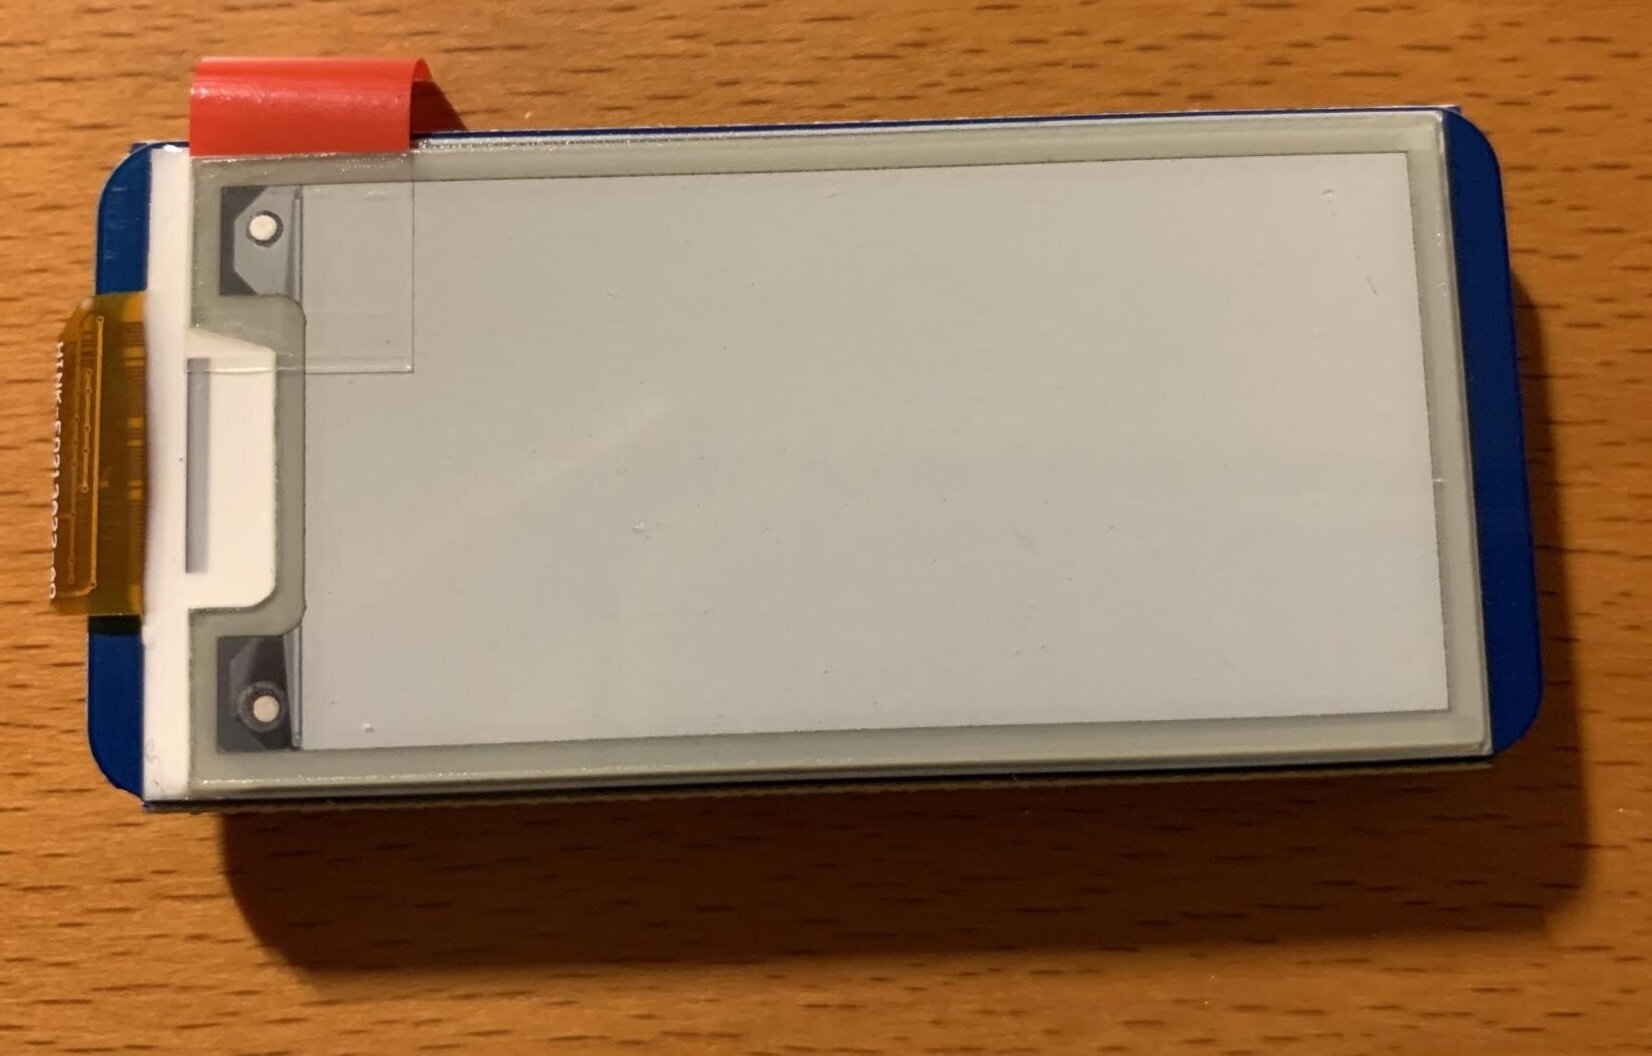
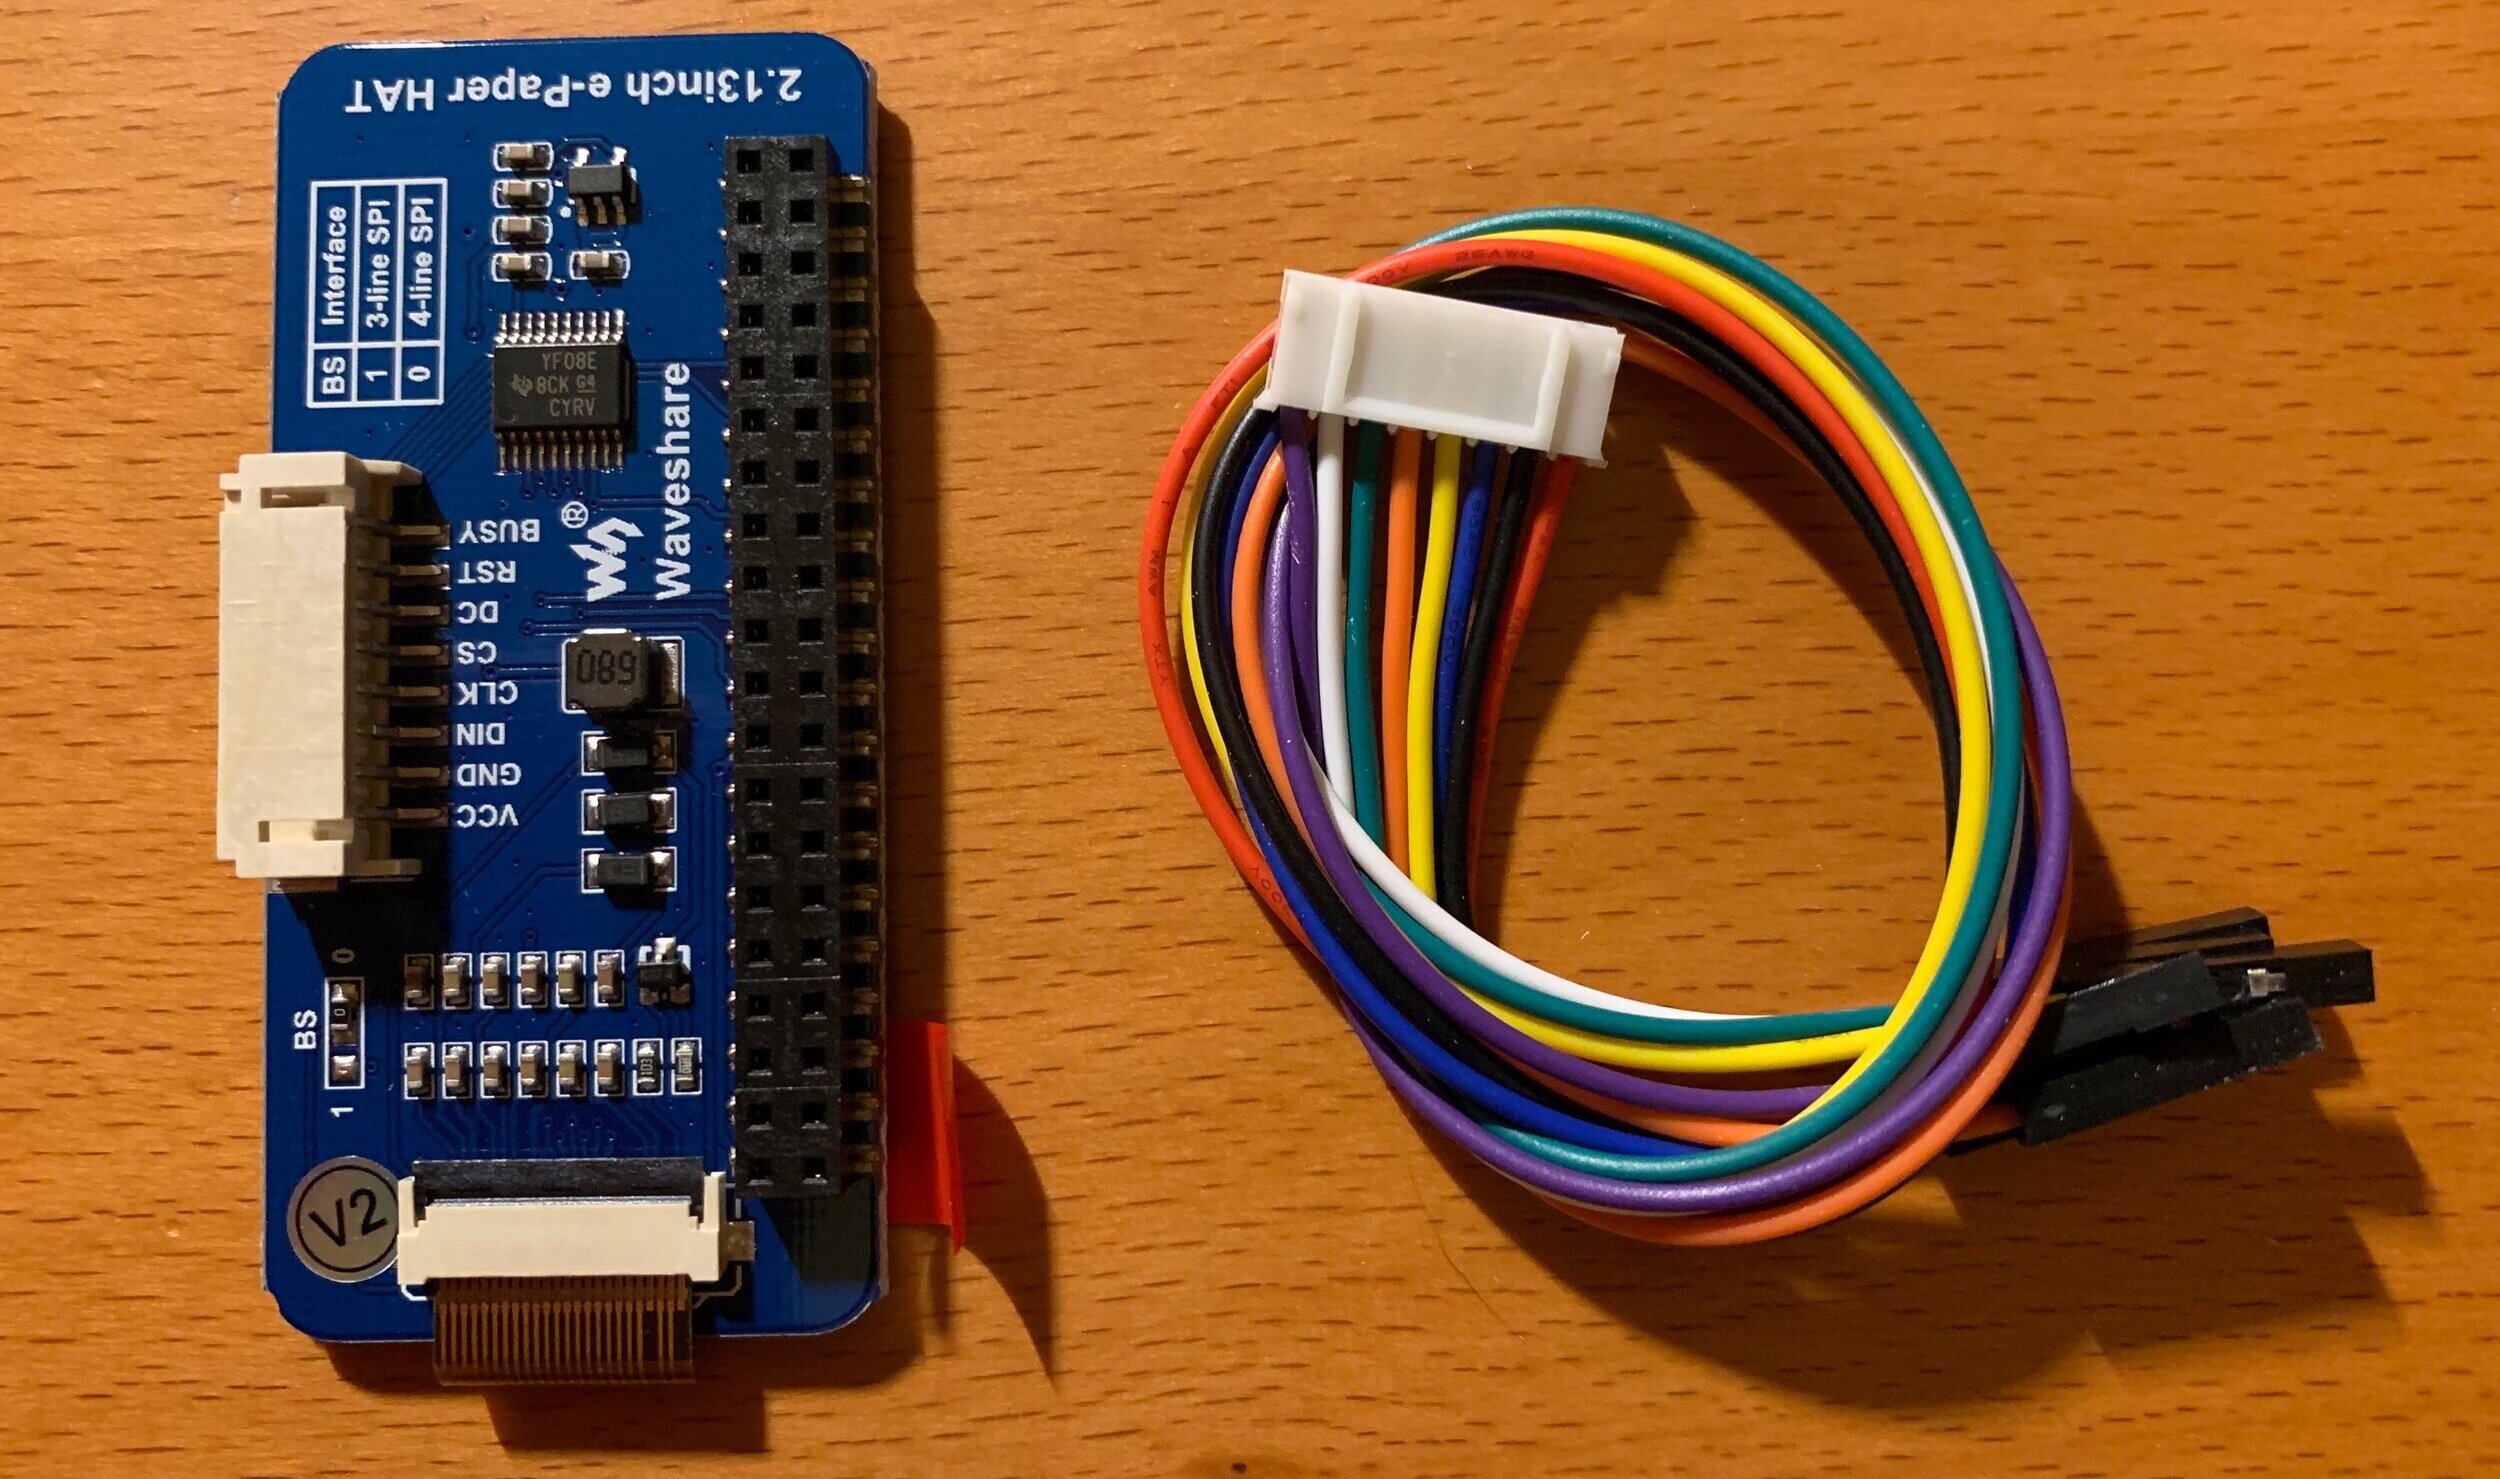
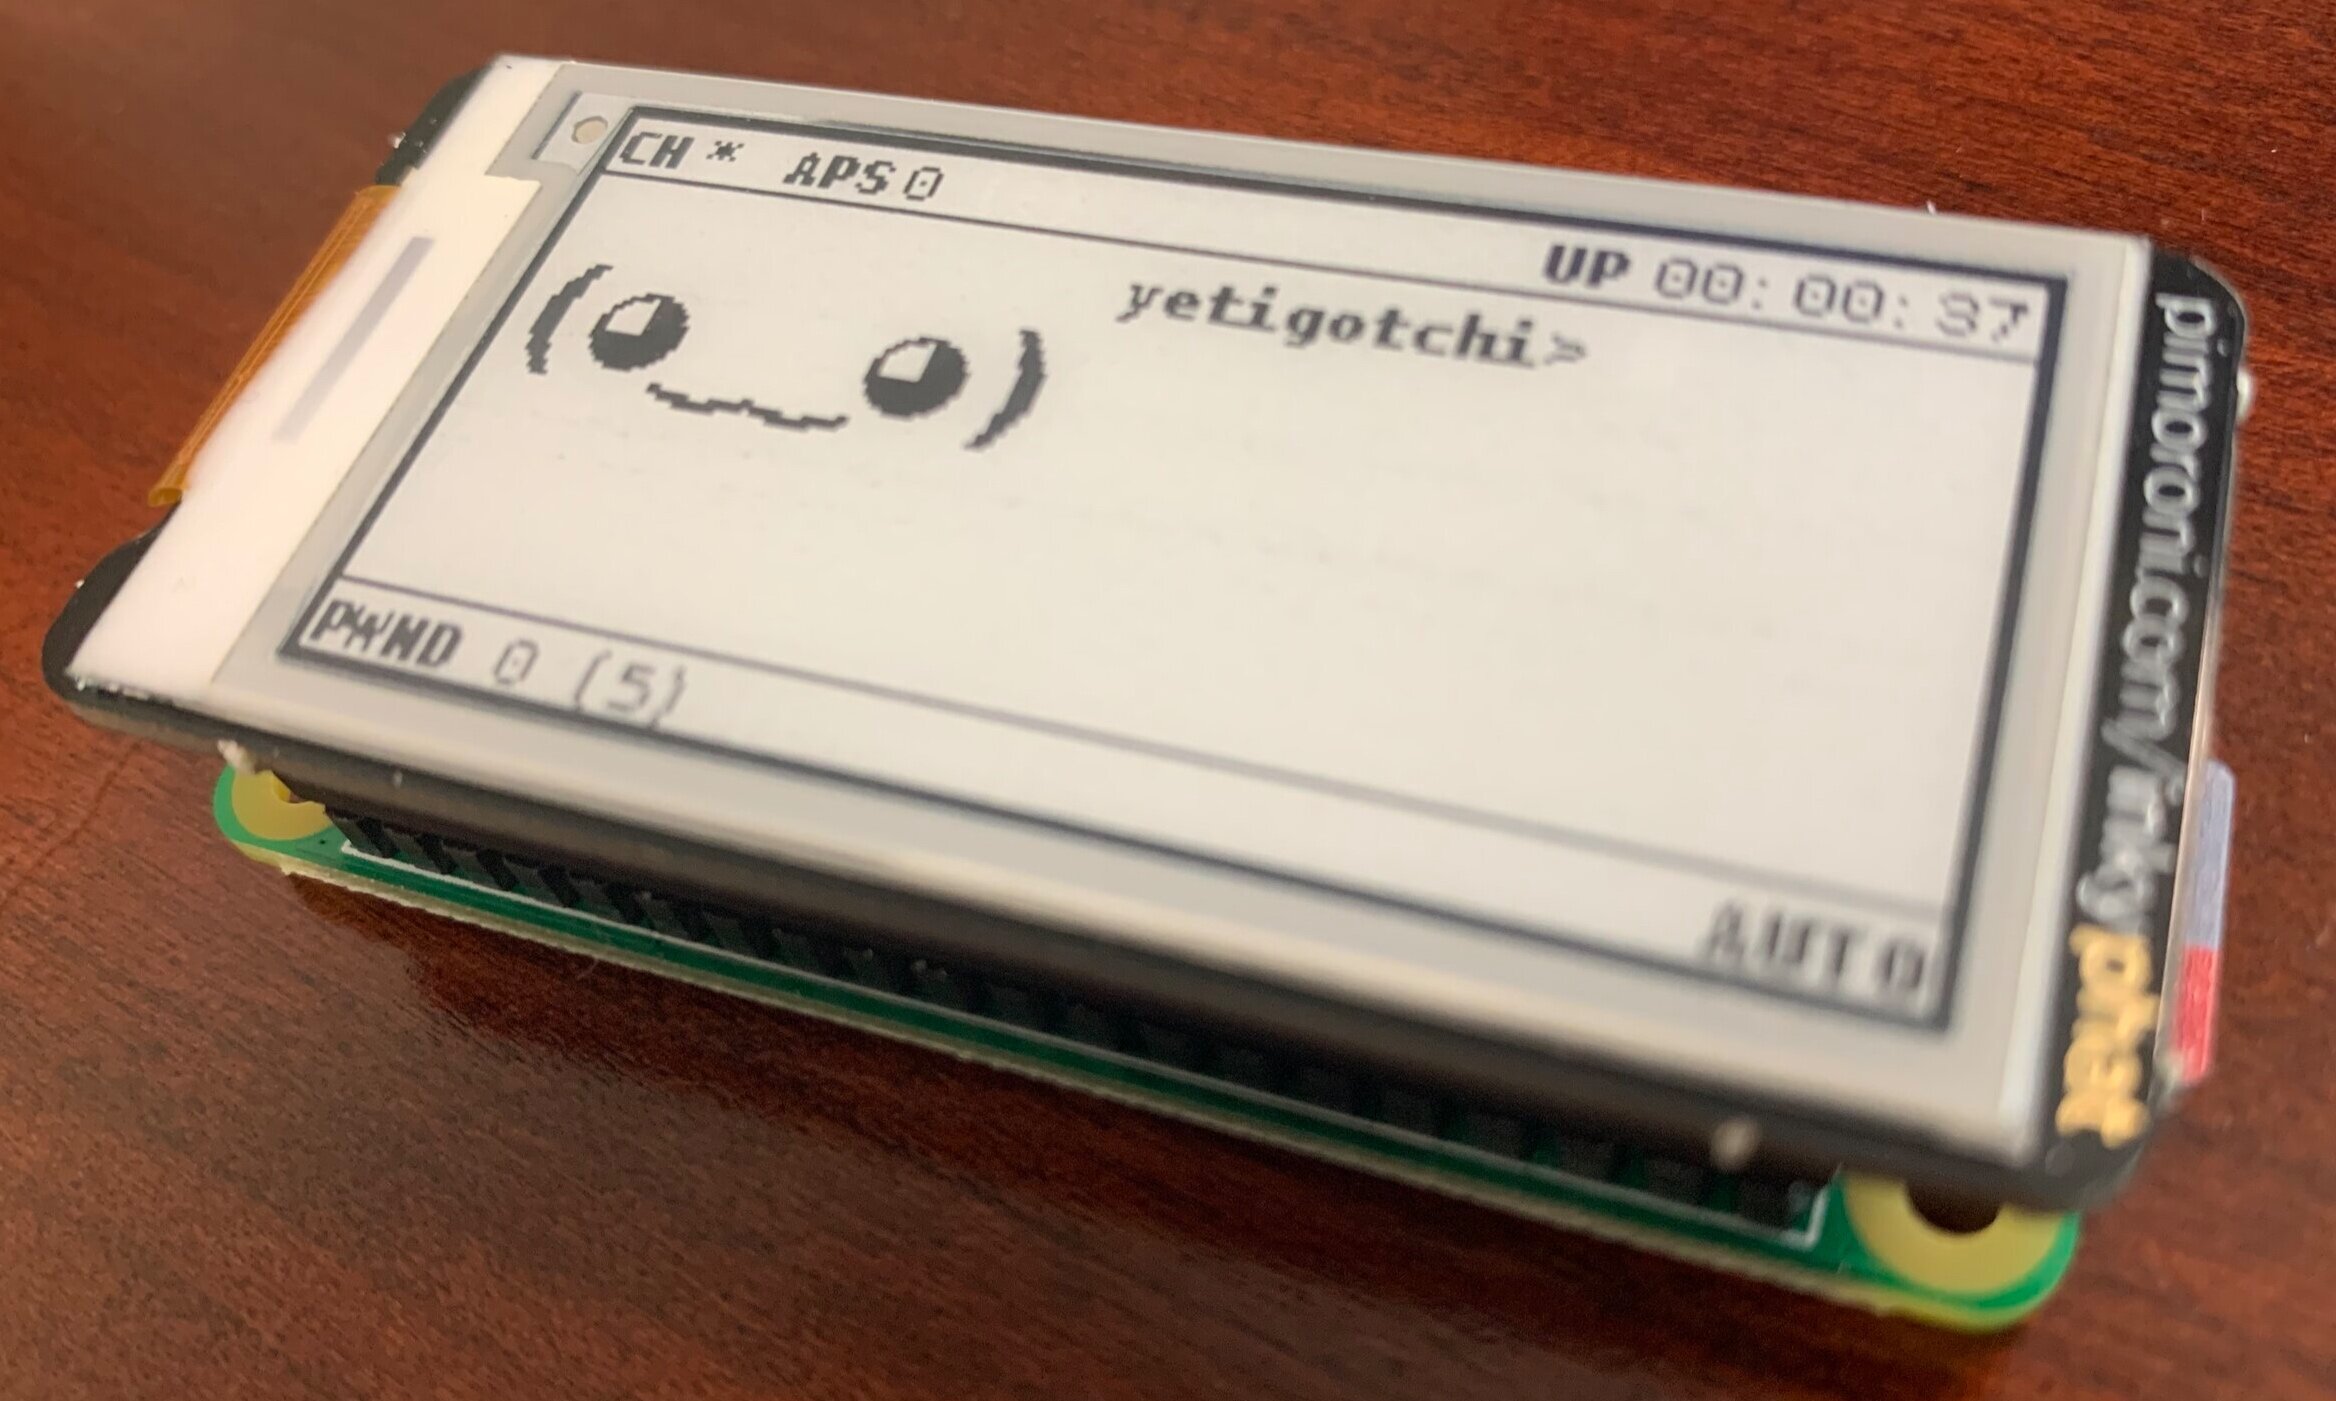
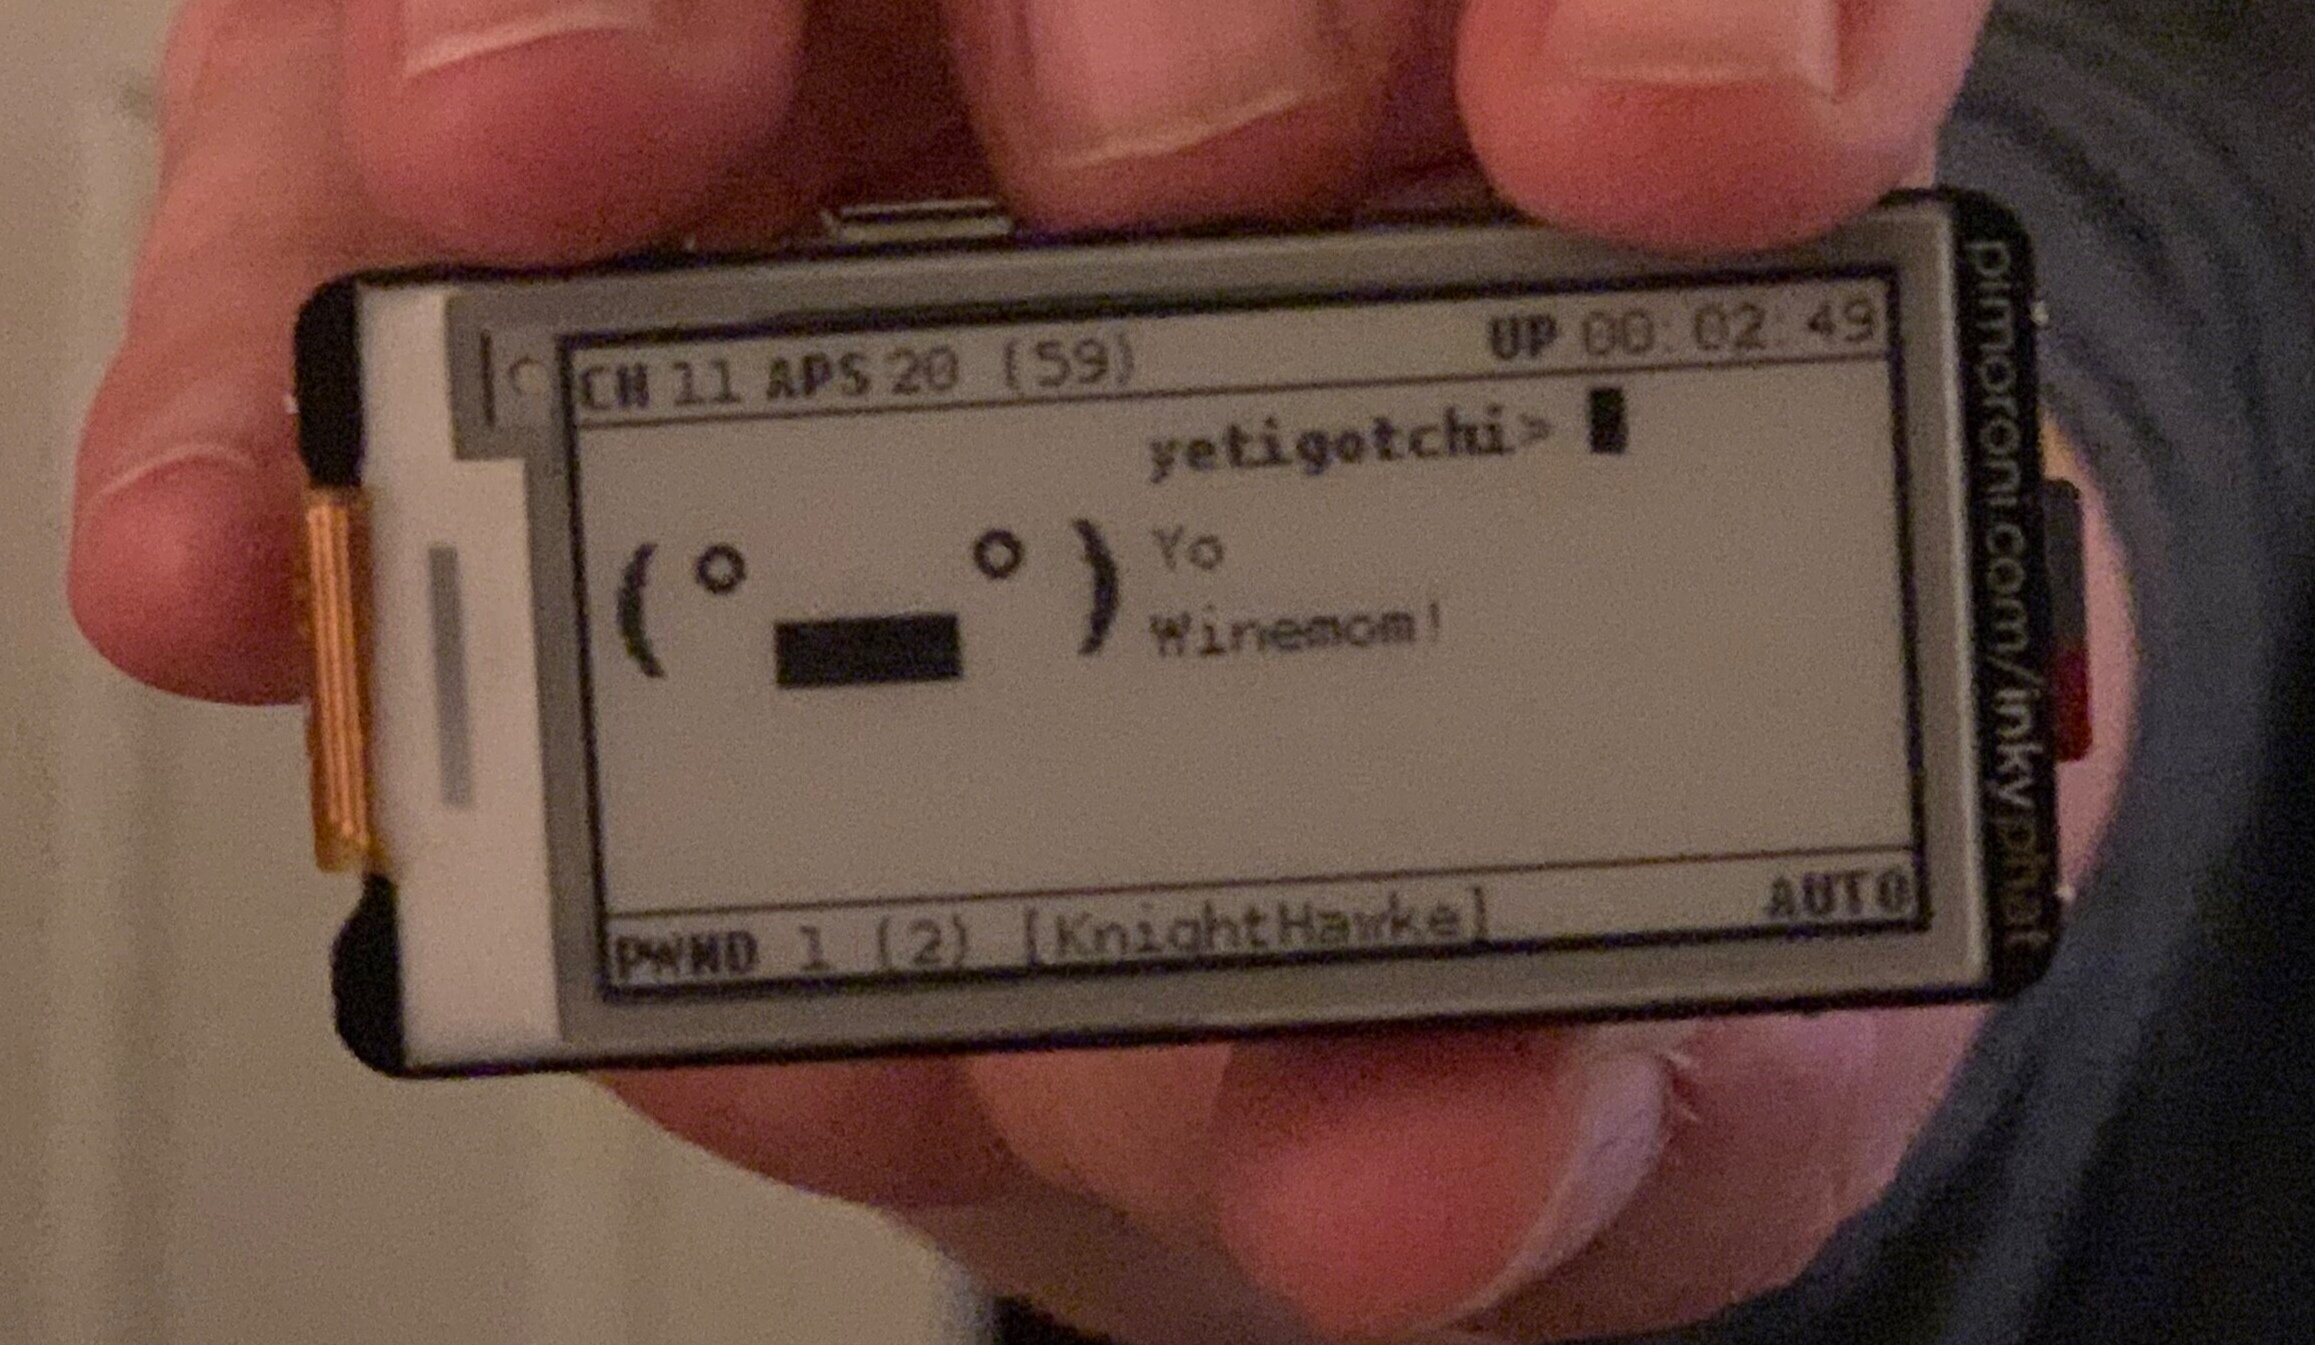
An additional note, if you’re having problems with your Waveshare, there is now a helpful test script from the manufacturer included in the pwnagotchi git source. It is located in /root/pwnagotchi/scripts/pwnagotchi/ui/waveshare/v2/waveshare.py. You can use this to test your e-ink screen and at least troubleshoot it to see if you got a dead on arrival screen. I had some initial problems with my Waveshare screen and [need to put in testing here]. In the meantime, I also ordered a Pimoroni InkyPhat from Adafruit to test. I found that using a USB cable with my Mac I could see an interface for [interface name] and was able to ssh into the pwnagotchi using the default raspberry pi credentials. Once logged in I ran the main.py script in /root/pwnagotchi/scripts folder and things started working! After this I could restart my pwnagotchi and things would auto start. Not sure why this was an issue, but know that you may need to do this to start.
After screen troubleshooting I was thinking about power. I want to have an easy way to plug in a battery bank but still not have the whole apparatus look like a mess and be hard to carry around. I’d like to integrate a “power cell” like idea. Then I was thinking I had a box of old power banks that I’ve collected over the years and dug out this beauty.
Goal Zero Flip 20 - it came in a combo pack with some LED lights that I use camping and I never really used it because I have a larger Anker power brick that is a beast. But to my complete surprise this thing still was charged! I have no idea when I last plugged it in. That’s enough of a selling point for me. I’m going to try to design my case to use this as a power cell. I even went on Amazon and picked up another one for under $20.
Putting together the hardware
Unpack your items
Connect the Waveshare display to the GPIO pins on the Raspi Zero. Make sure not to press on the screen or you could damage it (fun story… my first one seemed to be DOA. I need to do some more testing.)
Install SD card in the Pi Zero
Power everything up and see what happens
If nothing happens, plug into the pi zero with a USB cable and ssh into the OS [note about starting up with USB plugged in]
Use the main.py script or other scripts to troubleshoot
Enjoy!
Bonus: 3d printing a case
The first thing you need to know about one off hacking/making projects. Elkentaro has probably already made a case for it and posted a full spec downloadable thing on Thingiverse (links below) for you to use. He’s also written custom code, built the thing, modded the thing, and moved on before you even HEARD of it. Go read some of his posts and learn you summat (https://medium.com/@elkentaro) or say hey if you see him at a con. Legit and awesome dude.
So I downloaded his case design and proceeded to print it after first fixing my wonky 3d printer. I use a Monoprice Mini Select v2 printer (https://www.amazon.com/gp/product/B01FL49VZE/ref=ppx_yo_dt_b_asin_title_o02_s00?ie=UTF8&psc=1). It was relatively inexpensive (and I had an Amazon gift card) and prints good enough for my purposes. It’s a generally good starter printer that can do some cool things, but doesn’t break the bank if you don’t decide to do much more than a few funny projects.
At the time of posting this blog, I still haven’t fixed my printer, but I have some good ideas and will hopefully be adding that soon. :-\
Several great cases!
https://www.thingiverse.com/thing:3849519
https://www.thingiverse.com/thing:3879459
https://www.thingiverse.com/thing:3877243